Trezor.io/start
Your official gateway to securely setting up and using your Trezor hardware wallet for crypto management.
Introduction
Managing cryptocurrency safely requires the right tools, and hardware wallets remain the gold standard for secure storage. Trezor.io/start is the official portal designed to guide both beginners and intermediate users through the process of setting up their Trezor devices. From unboxing to sending your first crypto transaction, this page ensures a secure and seamless onboarding experience.
Whether you are exploring Bitcoin, Ethereum, or other altcoins, Trezor.io/start is the first step toward taking full control of your digital assets while keeping your private keys offline and secure.
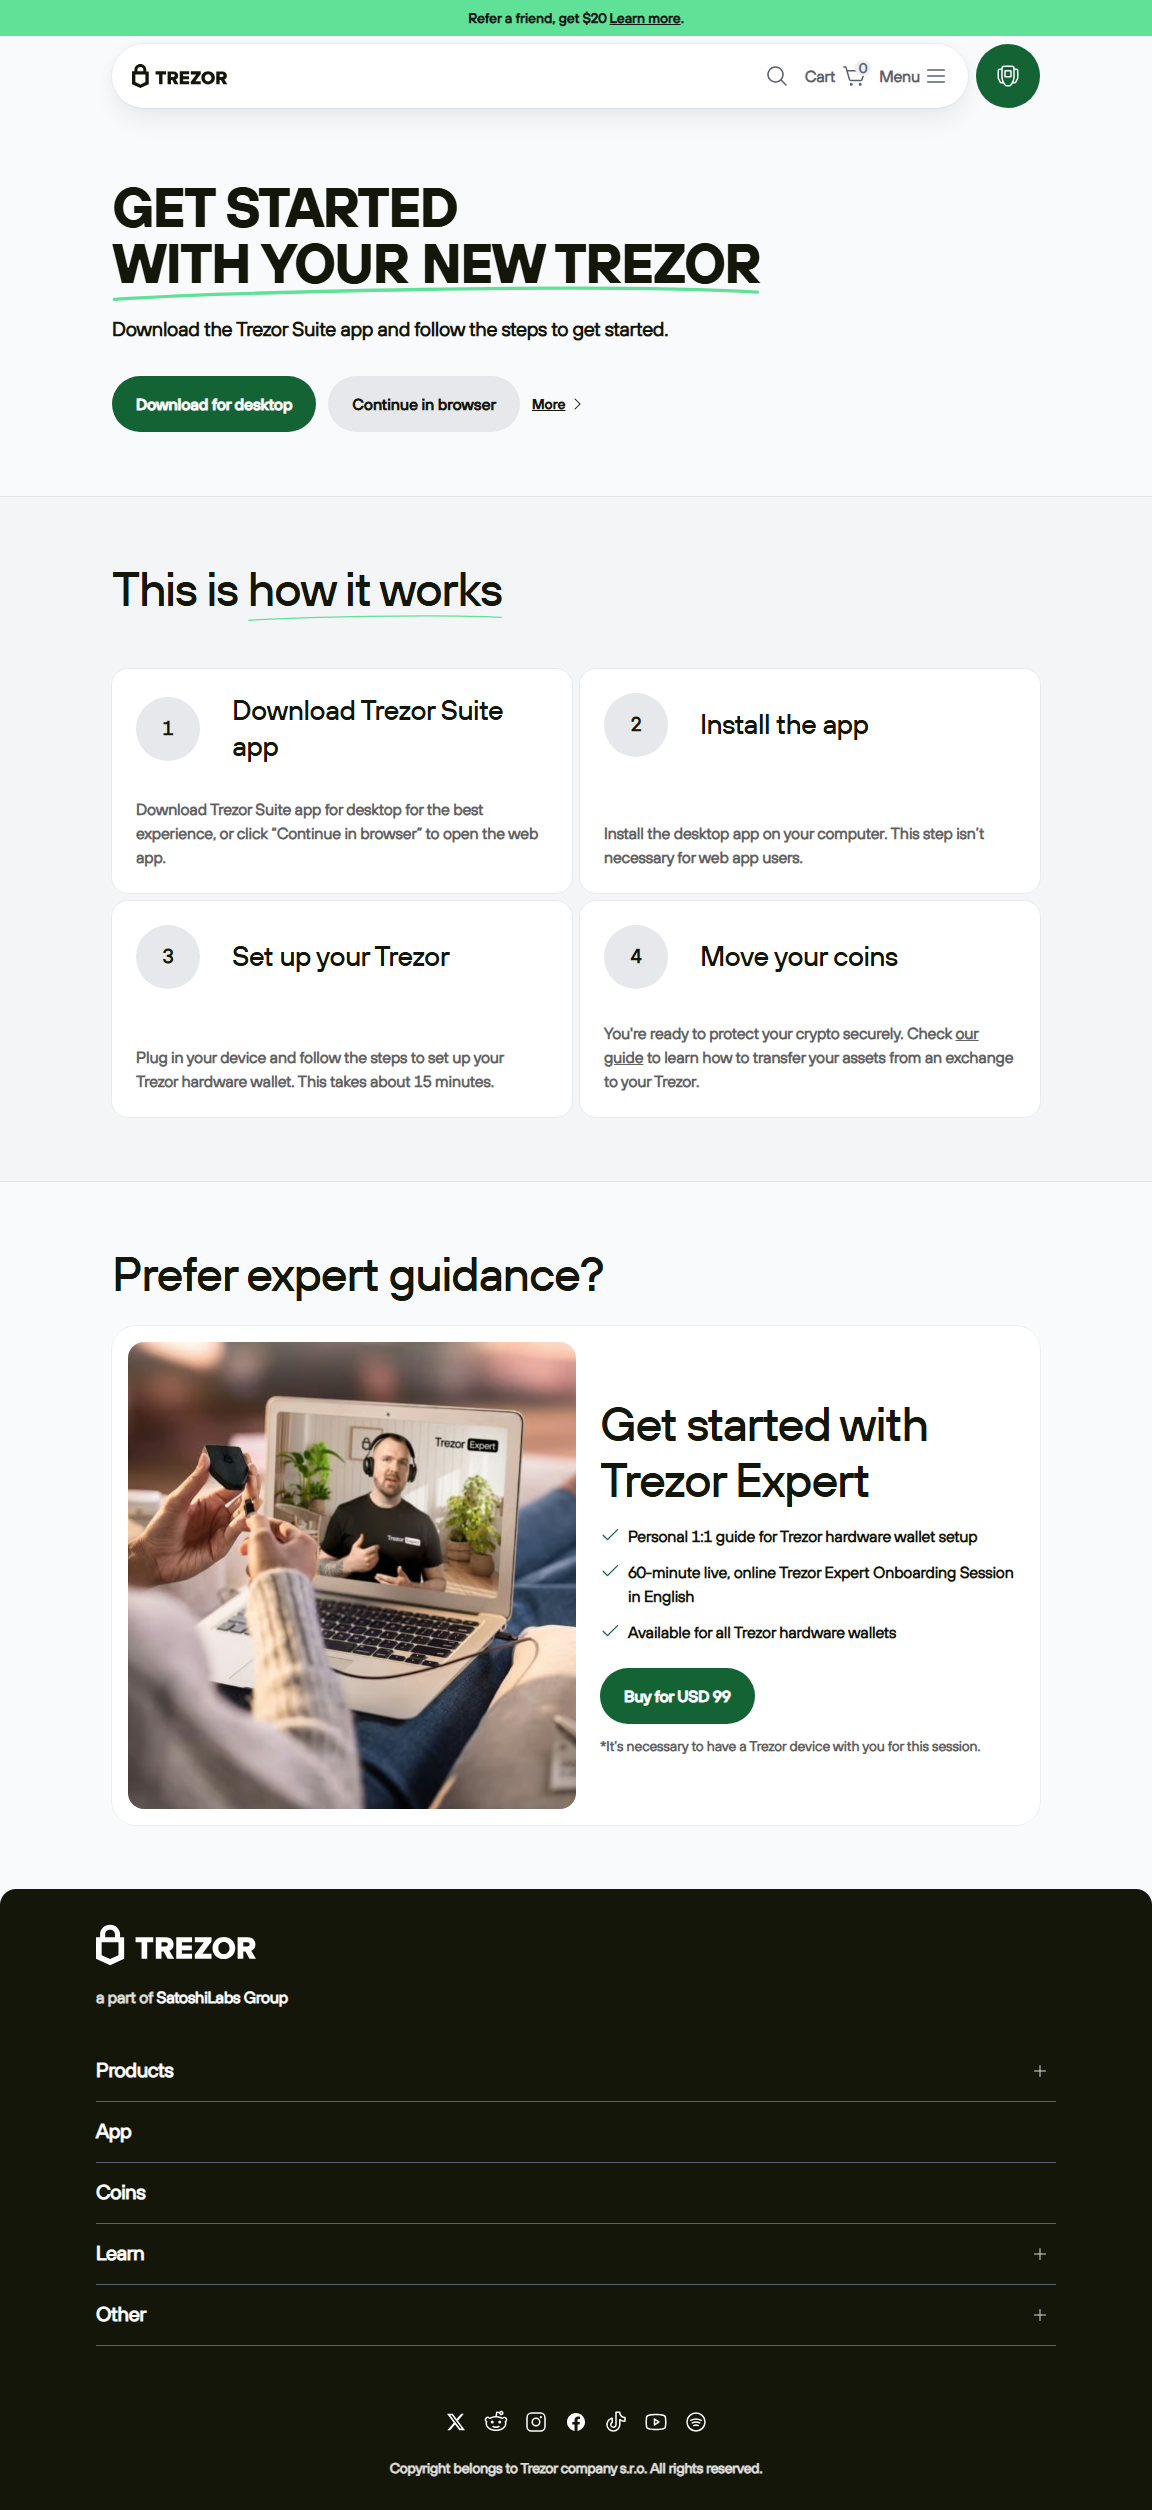
What is Trezor.io/start?
Trezor.io/start is the official setup page for all Trezor hardware wallets, including Trezor Model T and Trezor One. It provides verified instructions for downloading Trezor Suite, initializing the device, and securely managing cryptocurrencies. By following Trezor.io/start, users avoid phishing attacks and ensure they are using genuine software.
Supported Trezor Devices
- Trezor Model T – High-end device with touchscreen and support for over 1,600 coins and tokens.
- Trezor One – Entry-level device, reliable and secure for beginners and everyday users.
Step-by-Step Setup Guide via Trezor.io/start
Step 1: Unbox Your Device
Check that the Trezor box is sealed and intact. Inside, you’ll find the device, USB cable, recovery card, and instruction booklet.
Step 2: Go to Trezor.io/start
Open your browser and navigate to Trezor.io/start to access the official Trezor Suite download page.
Step 3: Install Trezor Suite
Download Trezor Suite for your operating system (Windows, macOS, Linux) or mobile device (iOS/Android) and install it securely.
Step 4: Connect Your Device
Use the provided USB cable to connect your Trezor hardware wallet to your computer. Trezor Suite will detect the device automatically.
Step 5: Initialize Your Wallet
Set a PIN code directly on the device. Then write down the 24-word recovery seed on the provided recovery card. This seed is essential for wallet recovery if the device is lost.
Step 6: Verify Recovery Seed
Confirm the 24-word recovery phrase on your device to ensure it has been recorded correctly. Never store it digitally or online.
Step 7: Start Using Trezor Suite
Once the setup is complete, you can create accounts, send/receive cryptocurrencies, and explore staking or DeFi integrations securely through Trezor Suite.
Pro Tip:
Never share your recovery seed. Treat it as the master key to your crypto holdings. Even someone with your PIN cannot access your wallet without the recovery seed.
Trezor.io/start vs Third-Party Guides
| Feature | Trezor.io/start | Third-Party Tutorials |
|---|---|---|
| Source | Official Trezor site | Varies, may be unsafe |
| Security | High, verified instructions | Potential phishing risks |
| Software Updates | Always current | May be outdated |
| Support | Official Trezor support | Limited or none |
FAQs about Trezor.io/start
1. Is Trezor.io/start safe?
Yes, it’s the official Trezor setup portal. Always verify the URL and SSL certificate.
2. Can I skip Trezor.io/start?
Skipping it is not recommended. This page ensures your setup follows secure protocols.
3. Do I need an internet connection?
Yes, for downloading Trezor Suite and verifying firmware updates. Your private keys remain offline at all times.
Conclusion
Trezor.io/start is your trusted guide to safely initializing and managing your Trezor hardware wallet. By following its step-by-step instructions, you gain secure access to your crypto, minimize risk, and enjoy full control over your digital assets. For both beginners and intermediate users, this portal ensures your journey into crypto ownership starts securely and confidently.